- Overview
- Tutorials
- Getting started
- Get started with Canton and the JSON Ledger API
- Get Started with Canton, the JSON Ledger API, and TypeScript
- Get started with Canton Network App Dev Quickstart
- Using the JSON Ledger API
- Get started with smart contract development
- Basic contracts
- Test templates using Daml scripts
- Build the Daml Archive (.dar) file
- Data types
- Transform contracts using choices
- Add constraints to a contract
- Parties and authority
- Compose choices
- Handle exceptions
- Work with dependencies
- Functional programming 101
- The Daml standard library
- Test Daml contracts
- Next steps
- Application development
- Getting started
- Development how-tos
- Component how-tos
- Explanations
- References
- Application development
- Smart contract development
- Daml language cheat sheet
- Daml language reference
- Daml standard library
- DA.Action.State.Class
- DA.Action.State
- DA.Action
- DA.Assert
- DA.Bifunctor
- DA.Crypto.Text
- DA.Date
- DA.Either
- DA.Exception
- DA.Fail
- DA.Foldable
- DA.Functor
- DA.Internal.Interface.AnyView.Types
- DA.Internal.Interface.AnyView
- DA.List.BuiltinOrder
- DA.List.Total
- DA.List
- DA.Logic
- DA.Map
- DA.Math
- DA.Monoid
- DA.NonEmpty.Types
- DA.NonEmpty
- DA.Numeric
- DA.Optional
- DA.Record
- DA.Semigroup
- DA.Set
- DA.Stack
- DA.Text
- DA.TextMap
- DA.Time
- DA.Traversable
- DA.Tuple
- DA.Validation
- GHC.Show.Text
- GHC.Tuple.Check
- Prelude
- Smart contract upgrading reference
- Glossary of concepts
Keycloak in the CN QS
Note
This page is a work in progress. It may contain incomplete or incorrect information.
Contents
Keycloak is an open-source Identity and Access Management (IAM) solution that provides authentication, authorization, and user management for modern applications and services. It acts as a centralized authentication server that handles user logins, session management, and security token issuance.
The CN QS uses Keycloak to provide secure authentication across its distributed architecture. Keycloak maintains separation between authentication concerns and business logic.
Realm structure
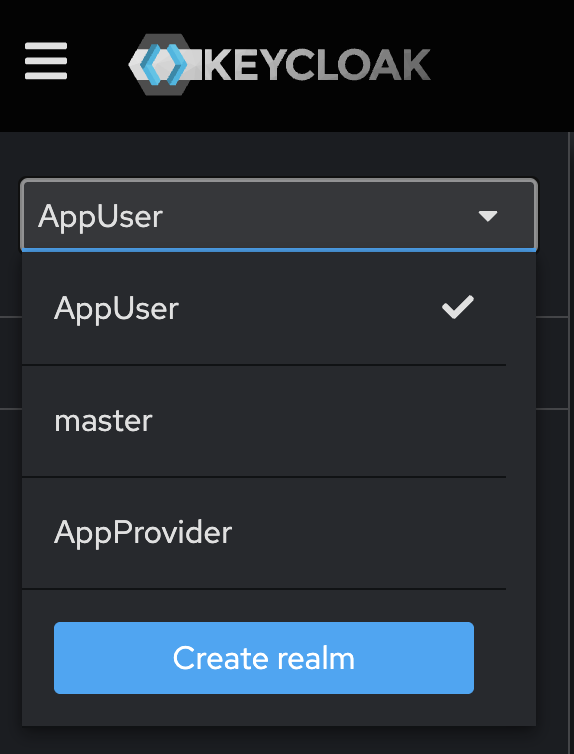
The CN QS defines two Keycloak realms. The AppProvider realm manages authentication for services and users on the provider side of the application. The AppUser realm handles authentication for the consumer side. When components like validators or participant nodes receive requests, they validate the authentication tokens against the appropriate realm.
Keycloak configuration
Predefined users each have their own environment file.
app-provider’s .env file is /env/app-provider-auth-on.env,
and
The default .env configuration includes predefined users in each realm:
User “app-provider” (AUTH_APP_PROVIDER_WALLET_ADMIN_USER_NAME=app-provider)
- UUID: 553c6754-8879-41c9-ae80-b302f5af92c9
(AUTH_APP_PROVIDER_WALLET_ADMIN_USER_ID)
AppUser realm:
User “AppUser” (AUTH_APP_USER_WALLET_ADMIN_USER_NAME=app-user)
- UUID: 92a520cb-2f09-4e55-b465-d178c6cfe5e4
(AUTH_APP_USER_WALLET_ADMIN_USER_ID)
Password: abc123 (AUTH_APP_USER_WALLET_ADMIN_USER_PASSWORD)
Customizing Keycloak for business needs
You can customize the Keycloak configuration to meet your specific business requirements.
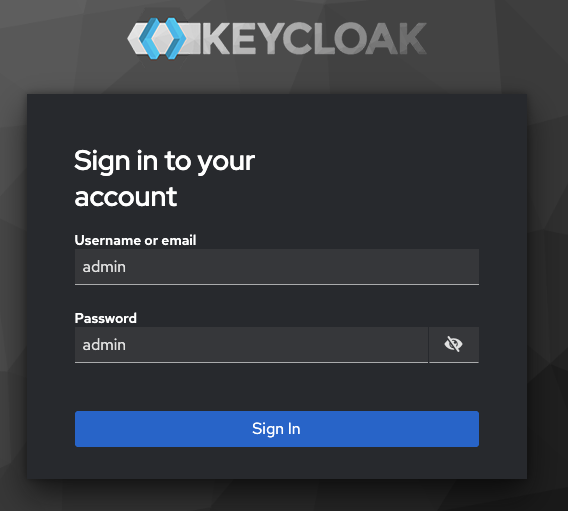
Accessing the admin console
The Keycloak admin console is available at:
http://keycloak.localhost:8082/admin/master/console/#/master
To log in use the default credentials:
Username: ``admin``
Password: ``admin``
Customization scenarios
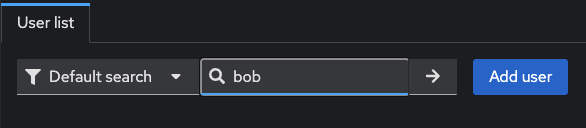
Add a new user
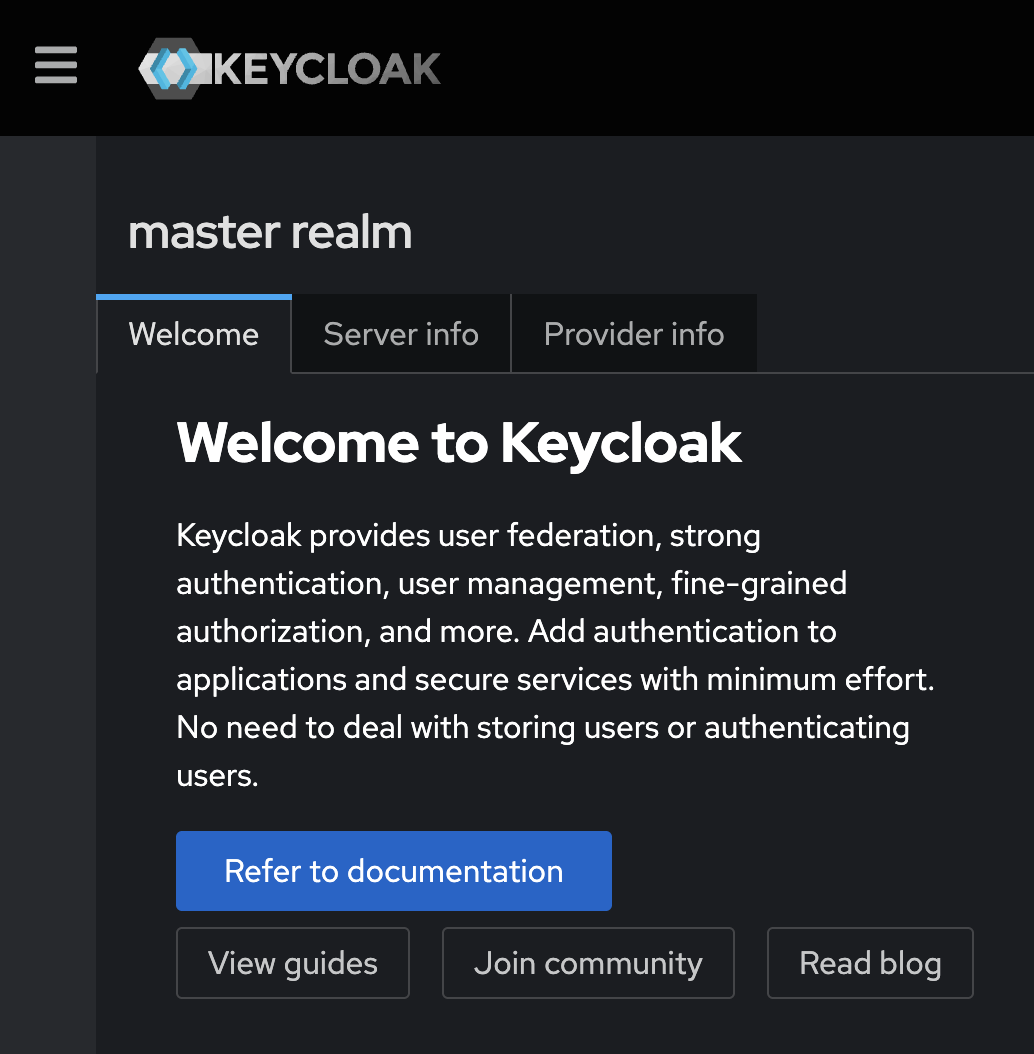
Log in to the Keycloak Admin console
Select the appropriate realm (AppProvider or AppUser)
Navigate to the “Users” -> “Add user”
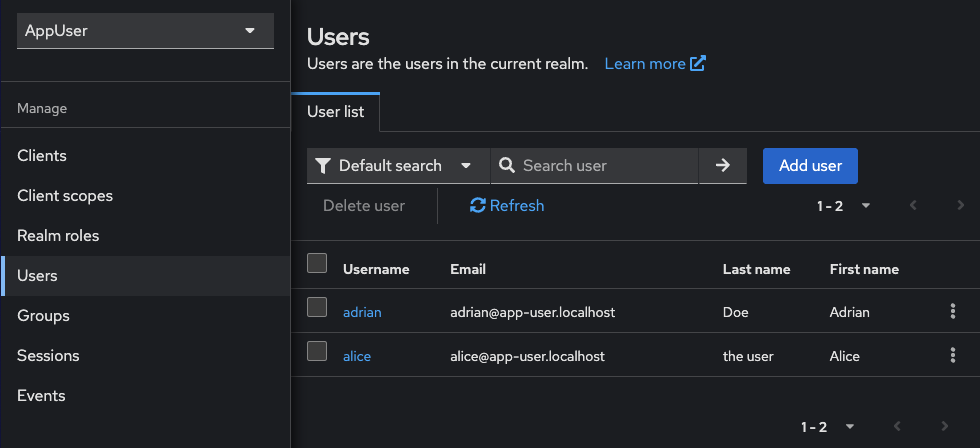
Click Add user
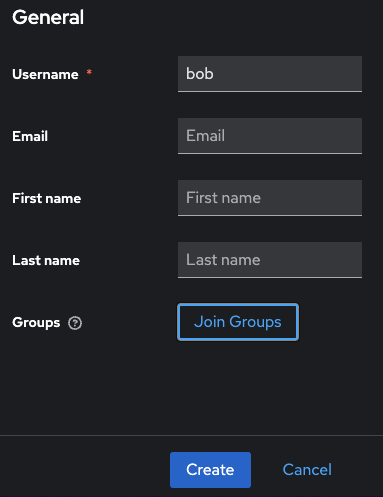
Fill in the user details and click Create
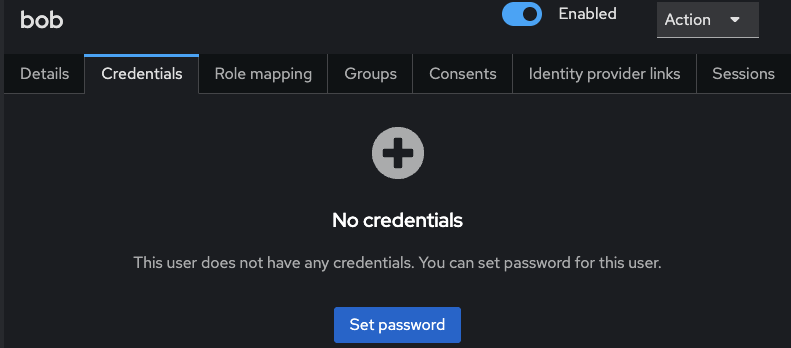
Go to the Credentials tab to set a password
Set the password
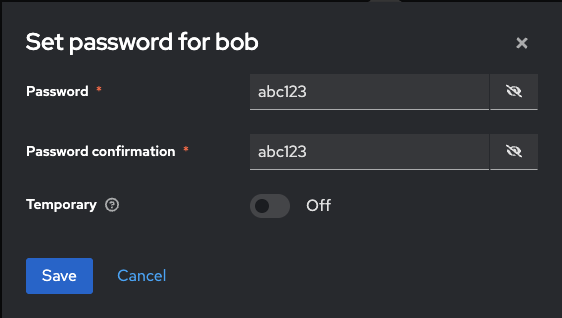
Save the password
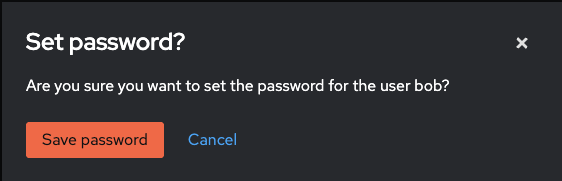
You can now sign in using the new user and their password.
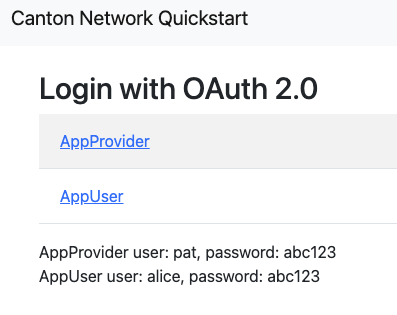
Return to the login page and click AppUser
Log in as Bob
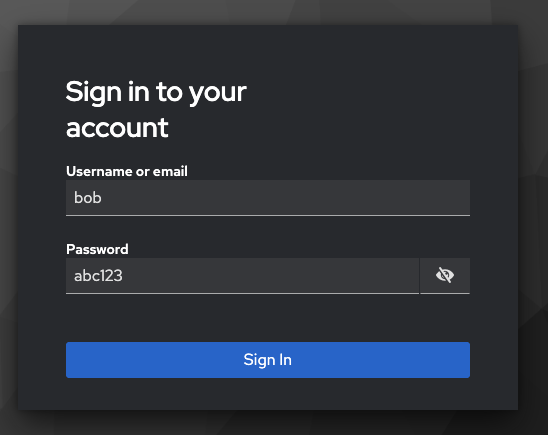
Bob is now a user

Modify client settings
Return to the realm selection view
Navigate to Clients -> select the client to modify
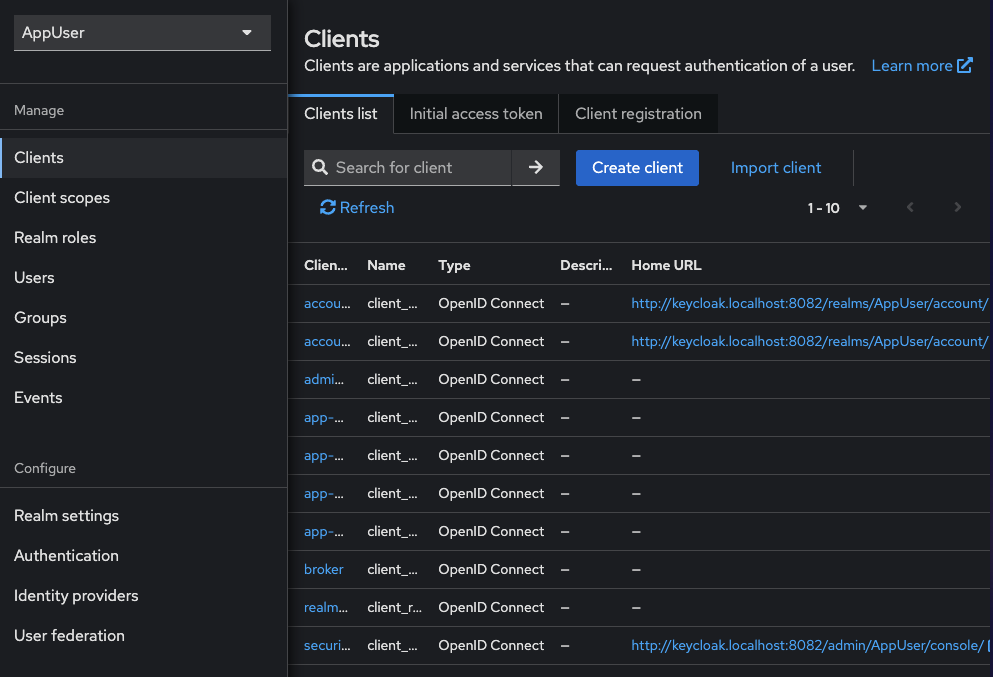
Update settings per your needs
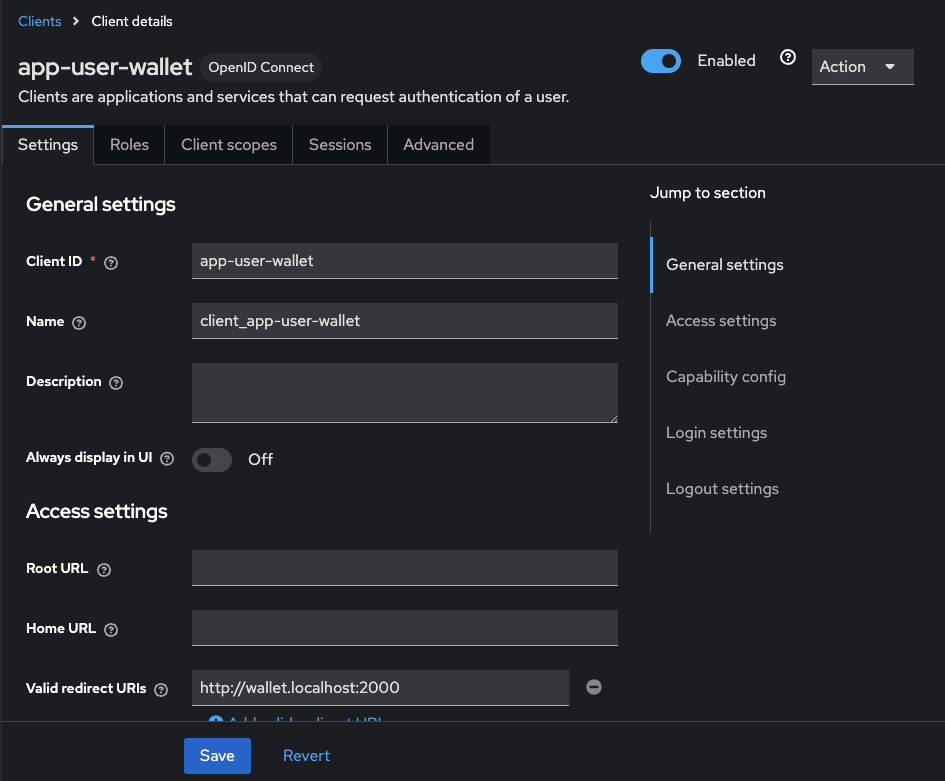
Save changes
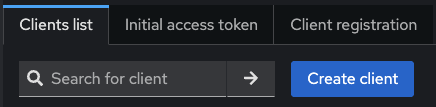
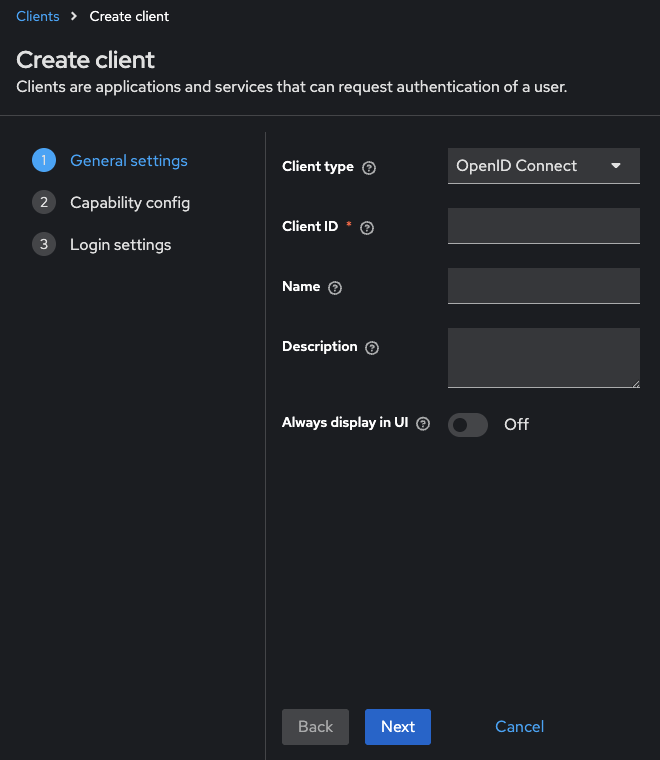
Add a new client
Select the appropriate realm
Navigate to “Clients” -> “Create”
- Configure the client’s general settings. Click Next for additional
configuration options
Configure additional settings
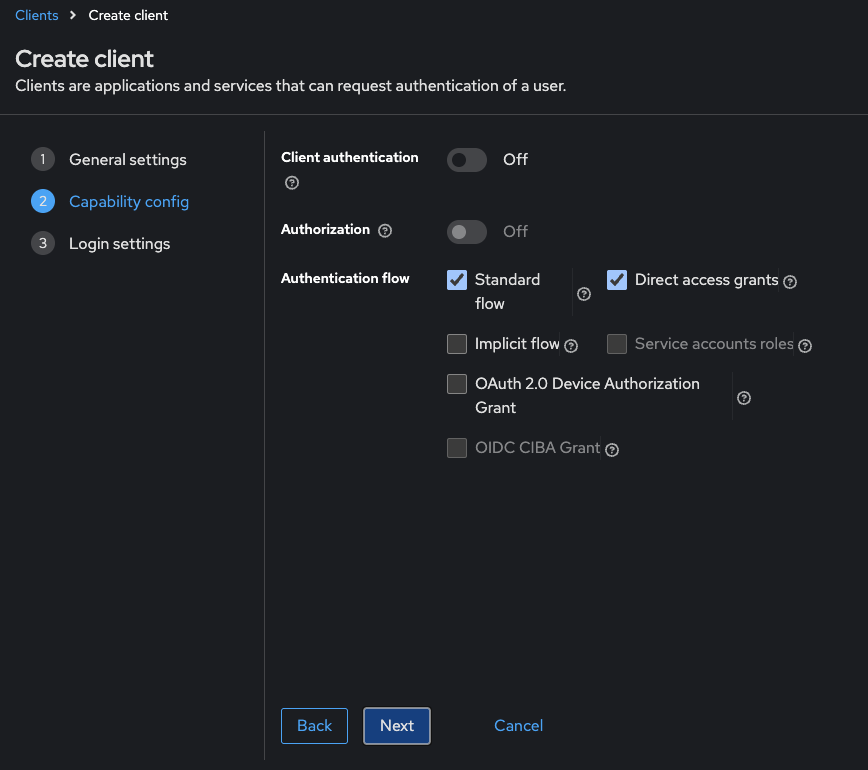
Click Next for additional configuration options
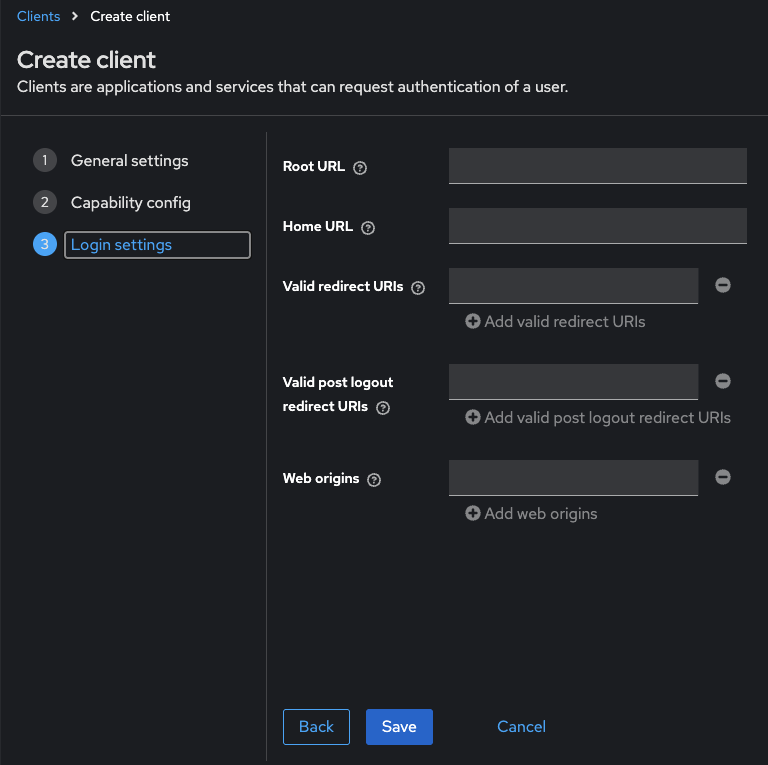
Save the client
Update environment variables
After making changes to Keycloak configuration, you may need to update the corresponding environment variables in the .env file:
The Keycloak user must have the same ID as the ledger user’s ID. This is not the party id.
For client changes, update the corresponding client ID and secret
For user changes, update the corresponding user ID and credentials
Restart the services to apply the changes:
make stop && make start
Troubleshooting
Login failures:
Verify Keycloak is running:
make status
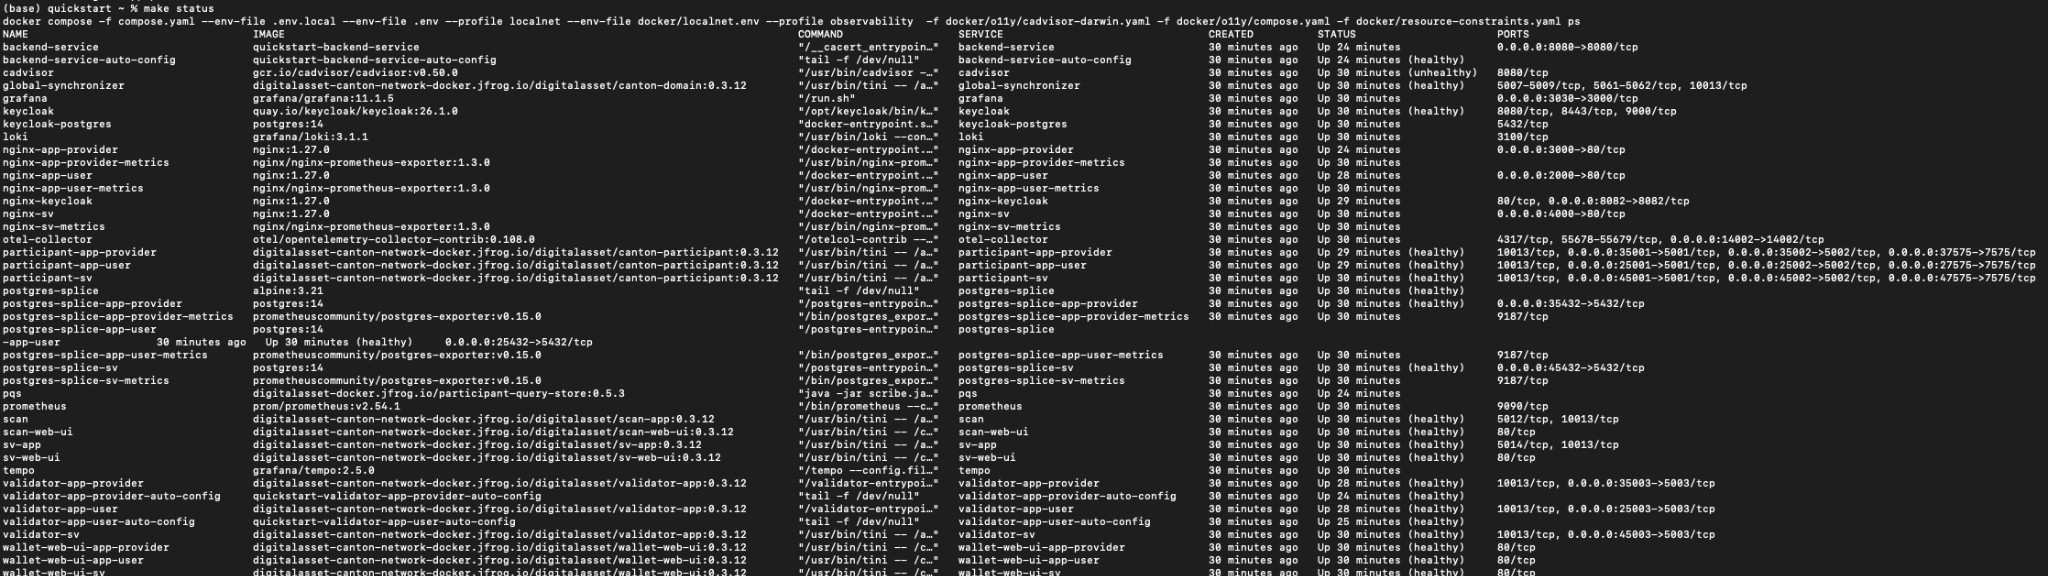
Find keycloak near grafana and loki in the list.
Keycloak should show as “healthy”

Check keycloak credentials in
.envfile
AUTH_APP_USER_ISSUER_URL_BACKEND=http://nginx-keycloak:8082/realms/AppUser
# for backend

AUTH_APP_USER_ISSUER_URL=http://keycloak.localhost:8082/realms/AppUser #
for backend, wallet-ui

AUTH_APP_PROVIDER_ISSUER_URL=http://keycloak.localhost:8082/realms/AppProvider
# for backend oidc client conf, wallet-ui

AUTH_APP_PROVIDER_ISSUER_URL_BACKEND=http://nginx-keycloak:8082/realms/AppProvider
# for backends
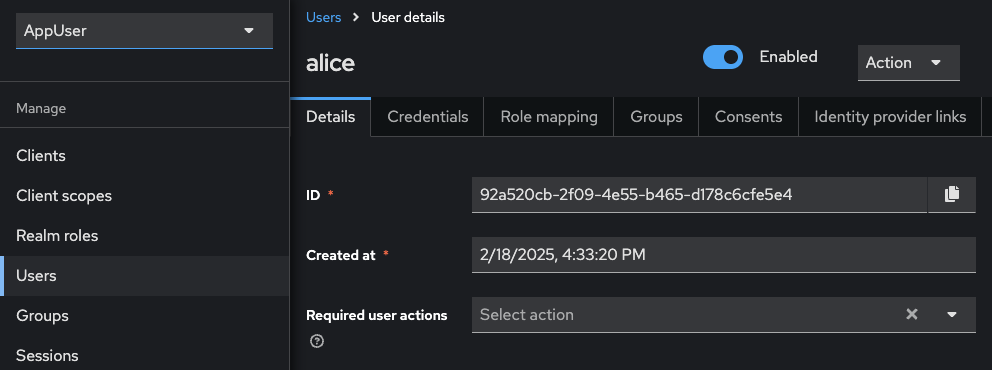
Check that the Keycloak user ID matches the ledger user ID
App User
Compare the ID value in Keycloak’s User Details with the AUTH_APP_USER_WALLET_ADMIN_USER_ID value in .env.
Note
In this example, AUTH_APP_USER_WALLET_ADMIN_USER_ID=92a520cb-2f09-4e55-b465-d178c6cfe5e4
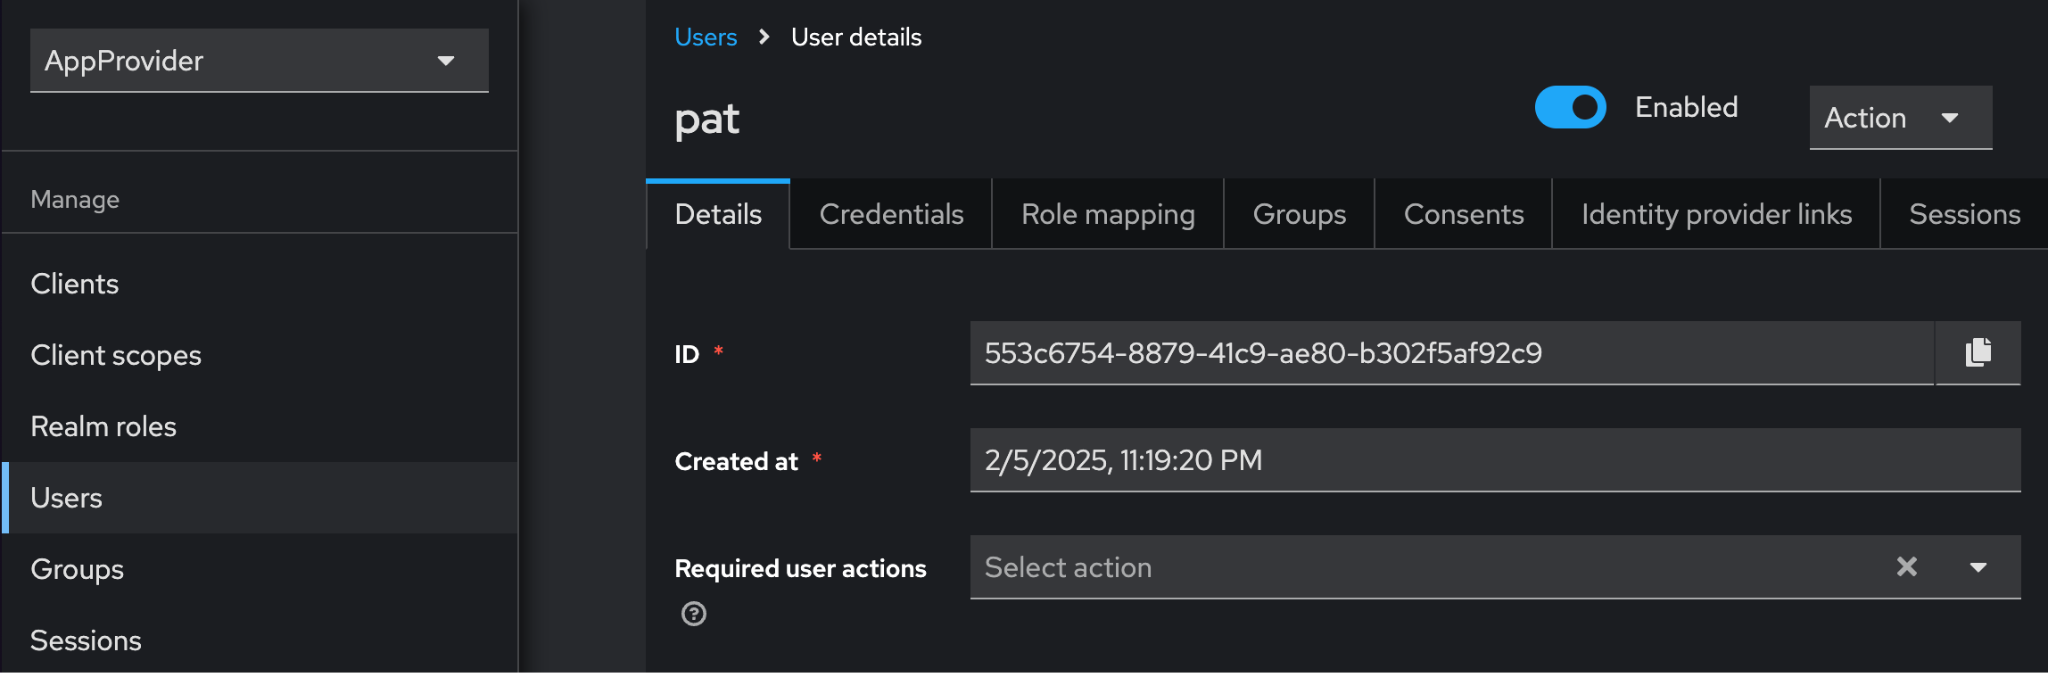
App Provider
Compare the ID value in Keycloak’s User Details with the AUTH_APP_PROVIDER_WALLET_ADMIN_USER_ID value in .env.
Note
In this example, AUTH_APP_PROVIDER_WALLET_ADMIN_USER_ID=553c6754-8879-41c9-ae80-b302f5af92c9
Learn more about using Keycloak through their documentation portal:
Keycloak official documentation